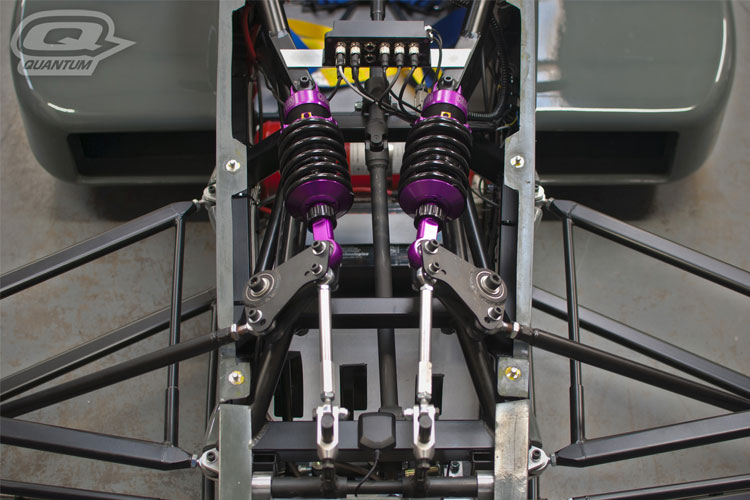
So, installation completed at last.
As it was a head-ache to find a good professional workshop to install it in my vicinity (without having to wait for three months...), in the end I did it myself with the help of a friend (also owner of a GR Yaris) for the wire loom and to get the new front shocks in.
Then about a week passed without anything happening due to some health issue, and then easy easy got the rear done by myself in about five days. This includes ride height set-up and testing various settings in the 5 modes proposed by the system.
Ofcourse, in normal conditions, the installation can be done by oneself in two-three days taking your time, without any specific tools, without a car hoist, just a jack and four stands. The car doesn't need to be high off the ground, on the contrary, you will need to reach inside the engine bay, inside the car and the trunk, so just high enough to get the wheels off, is high enough. Ideally about 40cm high allows to work comfortably.
So after testing a little, and I still have to play with the parameters of the five different modes, she really rides beautifully, absorbs everything, no more "banging" of the suspension in some bumps on the road. The pitch & roll control is so well programmed that the shocks themselves could do the job of the anti-roll bars ! So no need to fit any bigger ones, even though the springs are softer in the beginning of their compression travel.
Furthermore, no need for any extreme geo set-ups anymore (going for the alignment tomorrow), just stay OEM for camber for example, the suspension working to keep the tyres digging into the tarmac all the time cancels the need for anything extreme set-up-wise.
They boast 50% to 100 % more tyre life !
A big thanks to Simon Rogers for a lot of online help and advice. He is a technician in TracTive Holland, having installed several kits for GR Yaris before. Really implicated and passionate about these kits. In addition, he did confirm to reassure me that I wouldn't lose the 2 year warranty if I installed the kit myself.
What else can I say ?
Get yourselves a kit, you will not regret it ! It's as if you bought 5 different sets of suspension, and being able to switch from one to the other, in less than 10 milliseconds. It absolutely bonifies the GR Yaris !
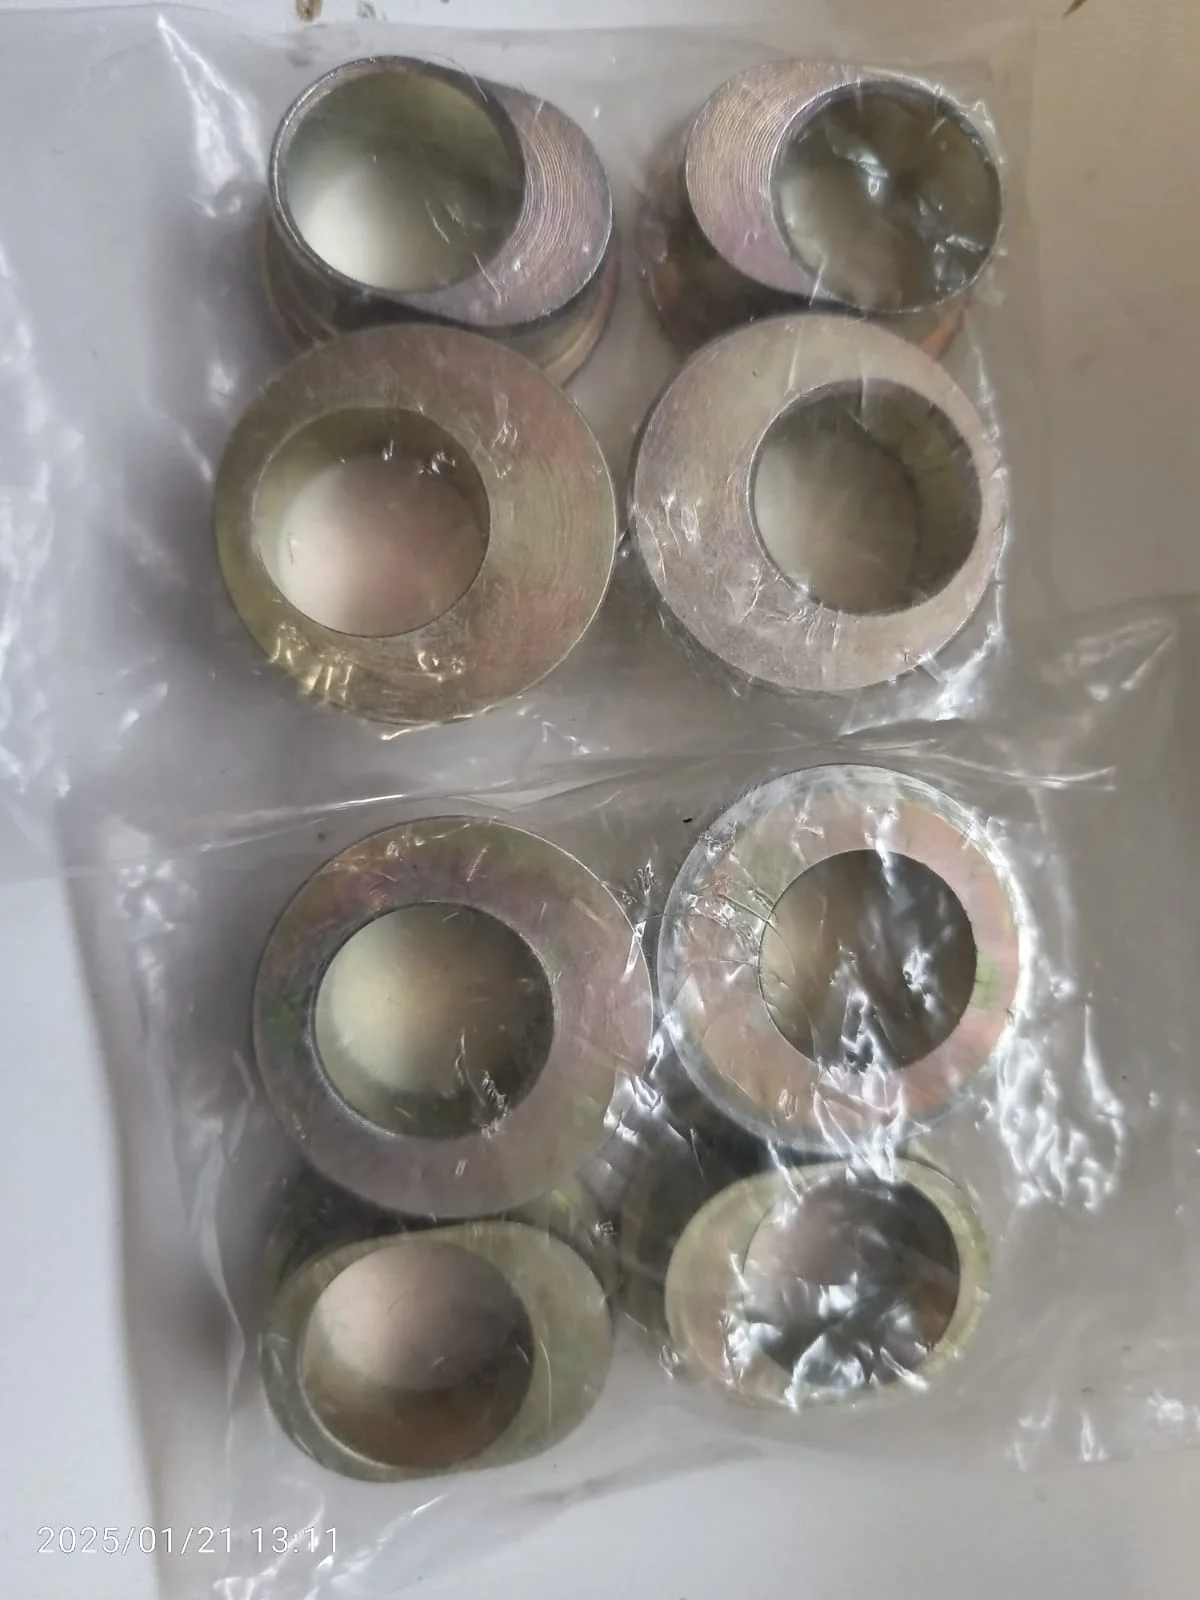
Attached a few pics.


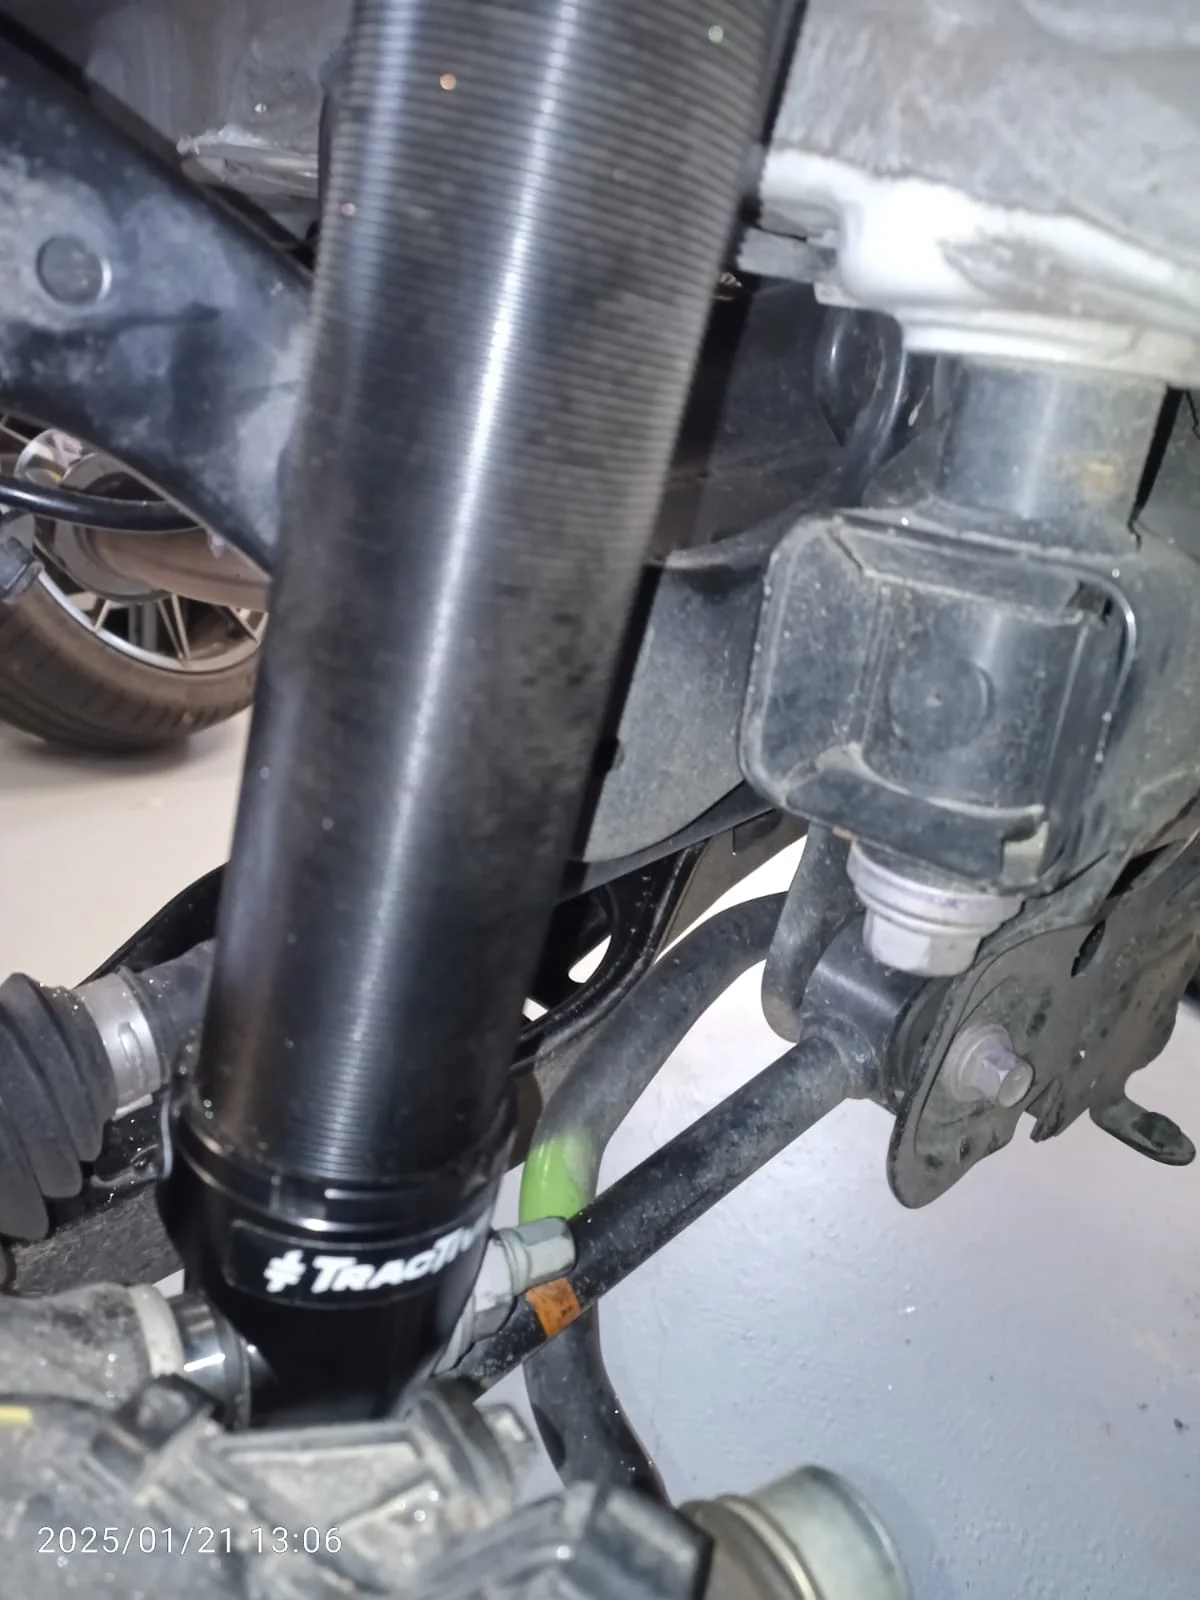

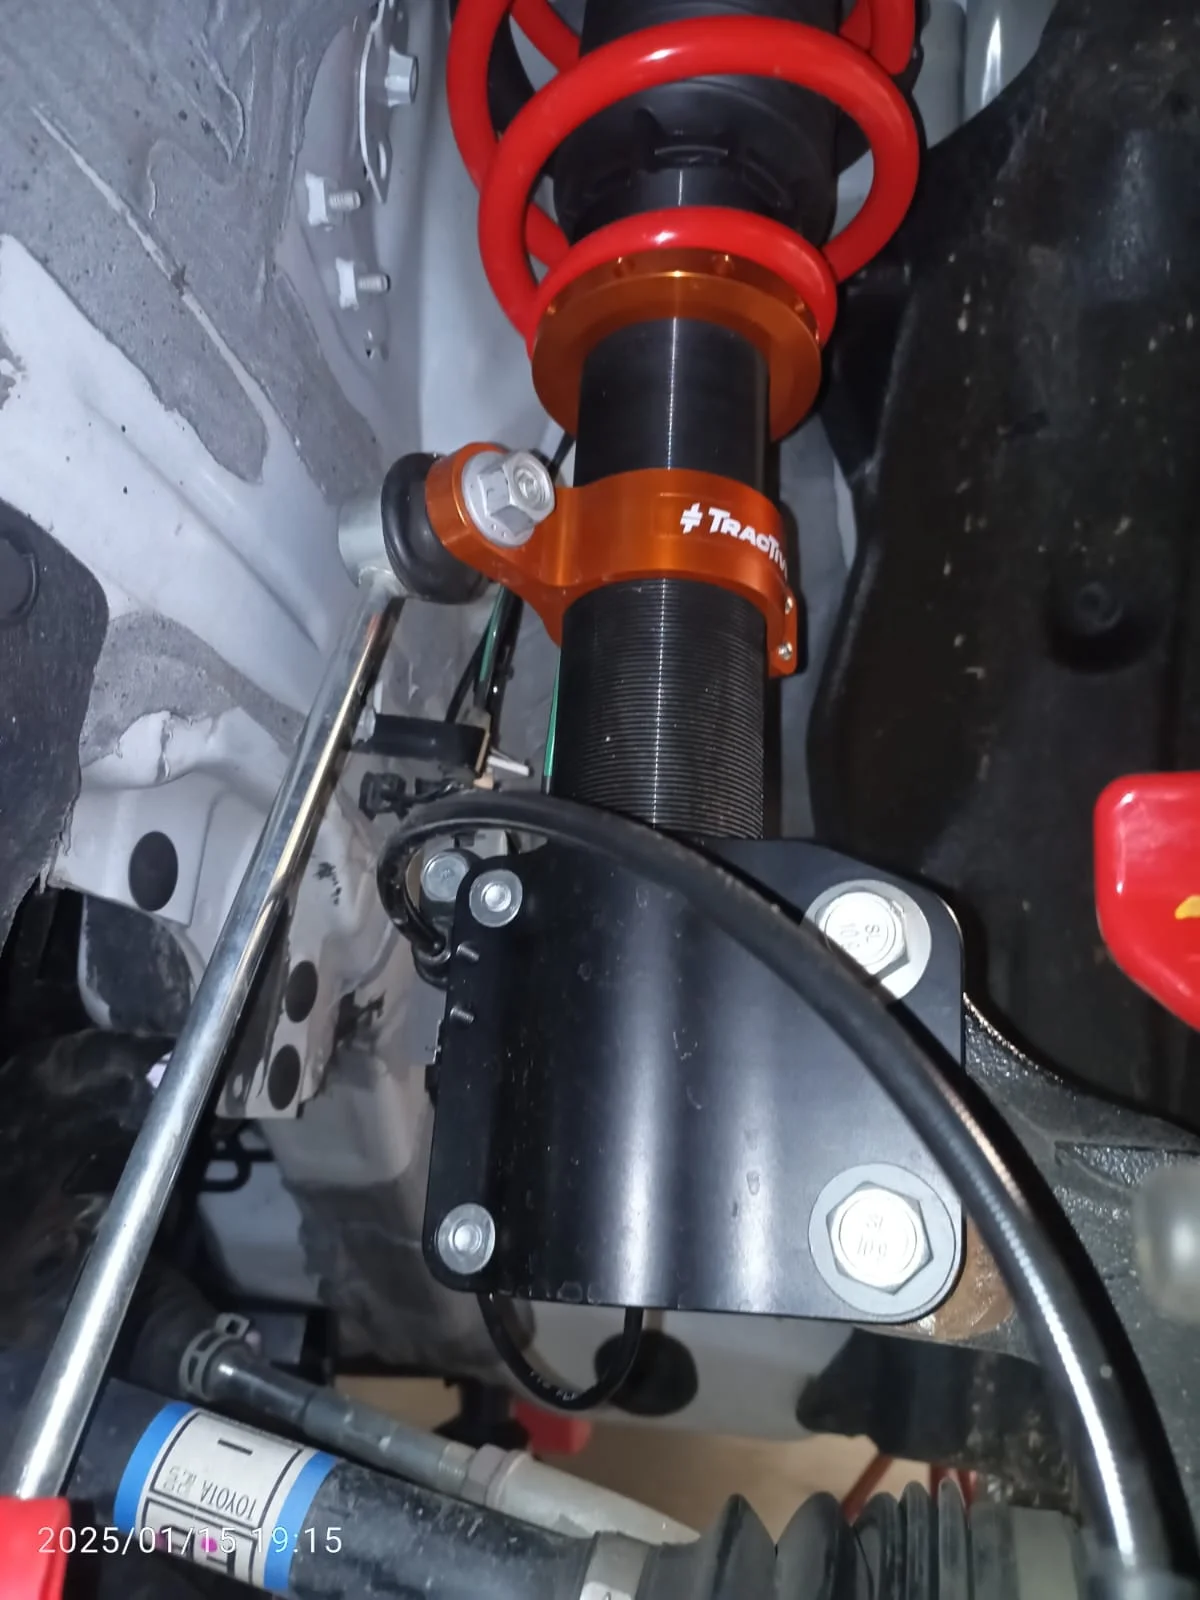
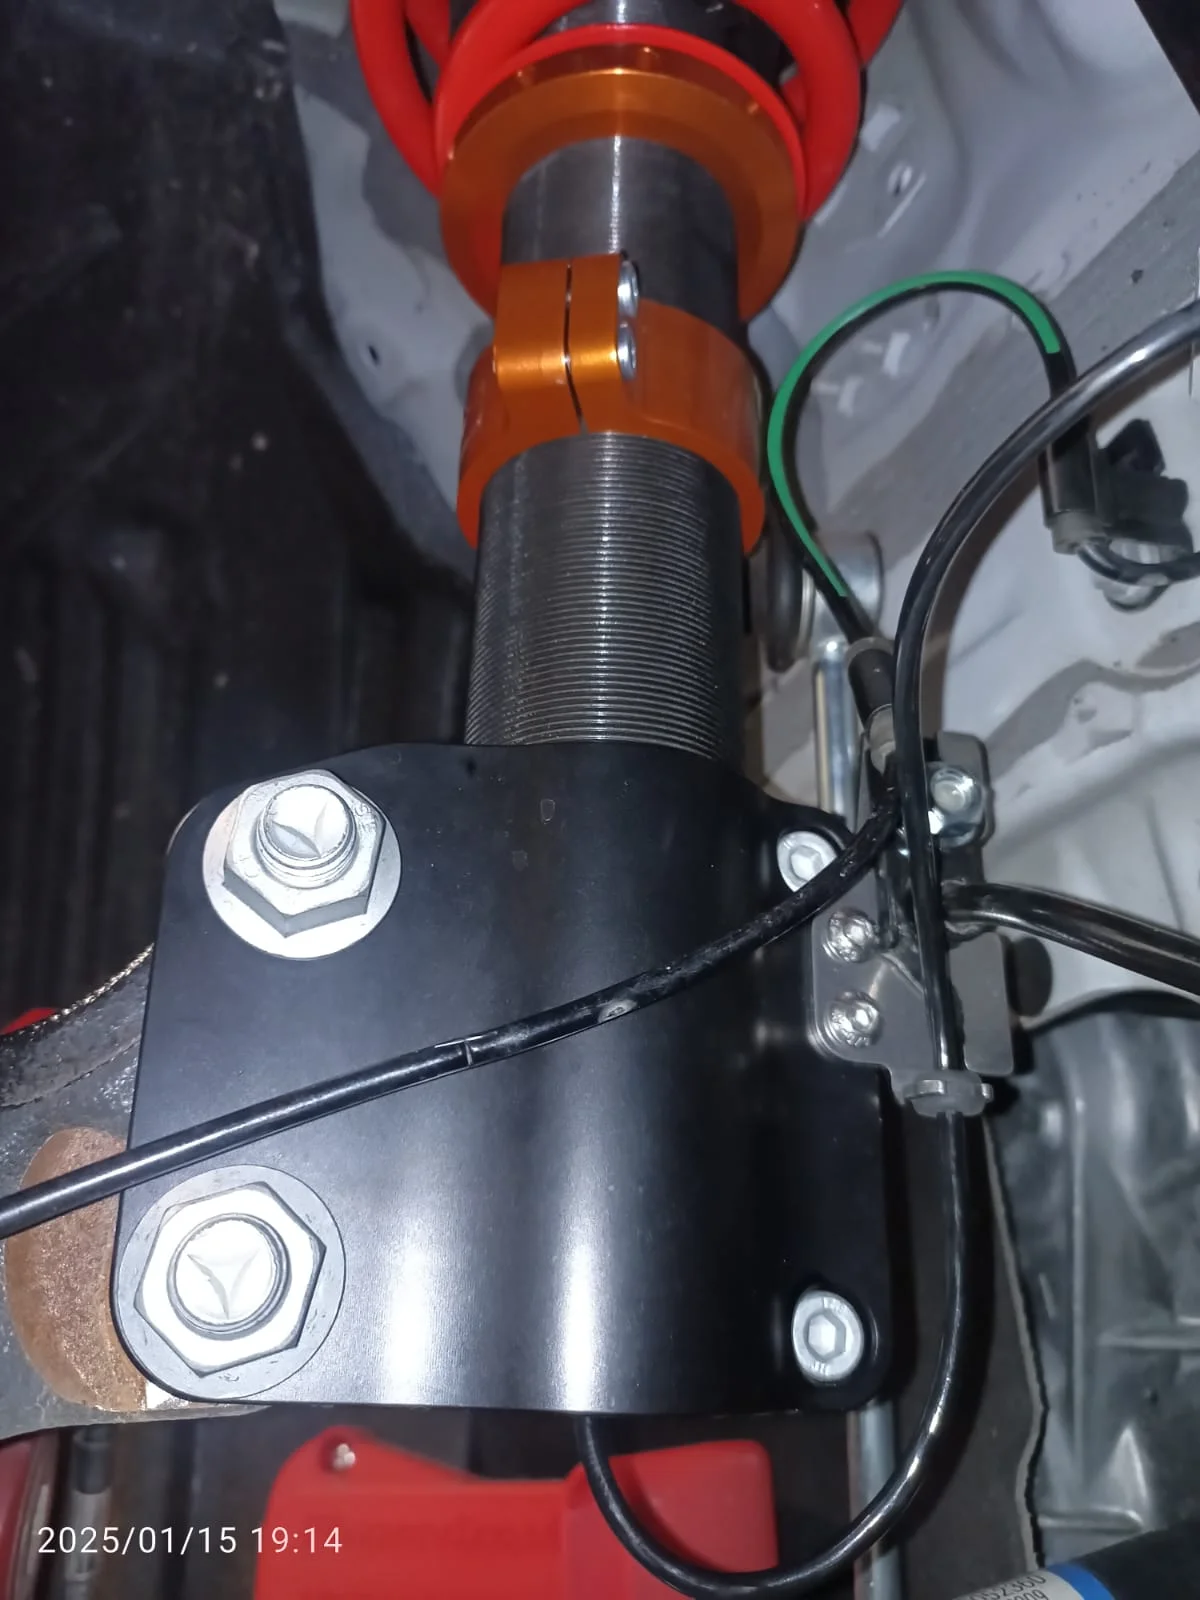


As it was a head-ache to find a good professional workshop to install it in my vicinity (without having to wait for three months...), in the end I did it myself with the help of a friend (also owner of a GR Yaris) for the wire loom and to get the new front shocks in.
Then about a week passed without anything happening due to some health issue, and then easy easy got the rear done by myself in about five days. This includes ride height set-up and testing various settings in the 5 modes proposed by the system.
Ofcourse, in normal conditions, the installation can be done by oneself in two-three days taking your time, without any specific tools, without a car hoist, just a jack and four stands. The car doesn't need to be high off the ground, on the contrary, you will need to reach inside the engine bay, inside the car and the trunk, so just high enough to get the wheels off, is high enough. Ideally about 40cm high allows to work comfortably.
So after testing a little, and I still have to play with the parameters of the five different modes, she really rides beautifully, absorbs everything, no more "banging" of the suspension in some bumps on the road. The pitch & roll control is so well programmed that the shocks themselves could do the job of the anti-roll bars ! So no need to fit any bigger ones, even though the springs are softer in the beginning of their compression travel.
Furthermore, no need for any extreme geo set-ups anymore (going for the alignment tomorrow), just stay OEM for camber for example, the suspension working to keep the tyres digging into the tarmac all the time cancels the need for anything extreme set-up-wise.
They boast 50% to 100 % more tyre life !
A big thanks to Simon Rogers for a lot of online help and advice. He is a technician in TracTive Holland, having installed several kits for GR Yaris before. Really implicated and passionate about these kits. In addition, he did confirm to reassure me that I wouldn't lose the 2 year warranty if I installed the kit myself.
What else can I say ?
Get yourselves a kit, you will not regret it ! It's as if you bought 5 different sets of suspension, and being able to switch from one to the other, in less than 10 milliseconds. It absolutely bonifies the GR Yaris !
Attached a few pics.